

Today is an absolutely wonderful day. It is the day I am unboxing my new Instant Vortex Pro.
I screeched like a wild banshee when the package arrived at the door. Did you just hear something? It might be the echo of my screams traveling around the world.
I have been researching “oven style” toaster ovens for weeks now. When I get my mind set on a new kitchen appliance, every fiber of my being is fully dedicated to figuring out which gadget will be the best for my home and my life. I have read hundreds reviews on Amazon, Target, and Bed Bath & Beyond; I’ve stalked Consumer Reports; I’ve enlisted people to help with research (thanks, Mom!); I’ve questioned friends about different models they own; I’ve made pro and con lists; I’ve watched countless YouTube reviews and how-to videos; I’ve joined Facebook groups; it’s safe to say this wasn’t an “impulse buy.” I don’t think I’ve gotten a full night of sleep in the last month because air fryer ovens have been on my brain and in my dreams.
Basket Style Air Fryers vs. Oven Style Air Fryers
I plan on writing an entire post on the pros and cons of basket style air fryers vs. oven style air fryers once I have experience using an oven style air fryer. For now, all I want to do is clarify the difference, because it can be confusing or overwhelming for someone new to air frying or looking to purchase an air fryer for the first time.
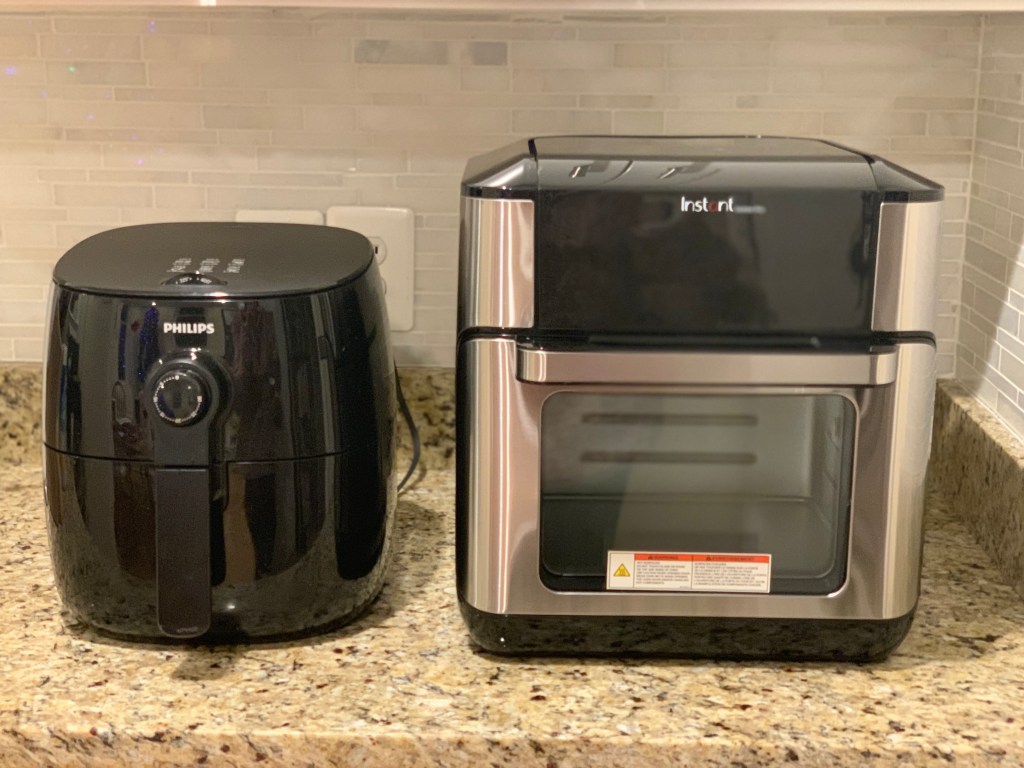
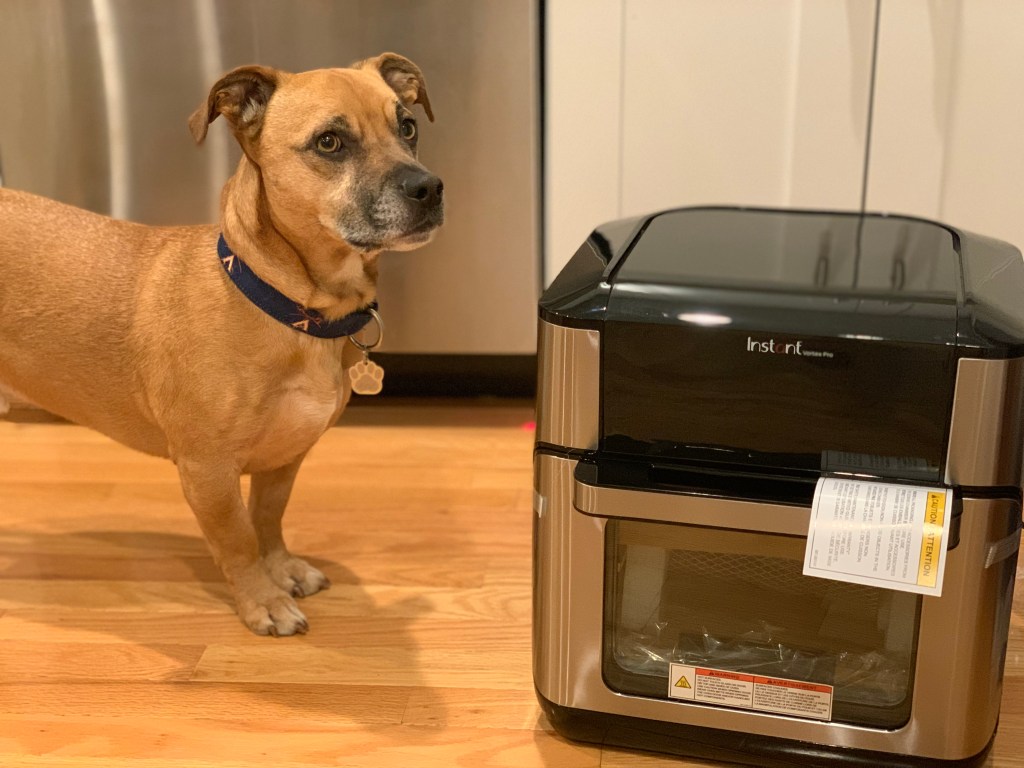
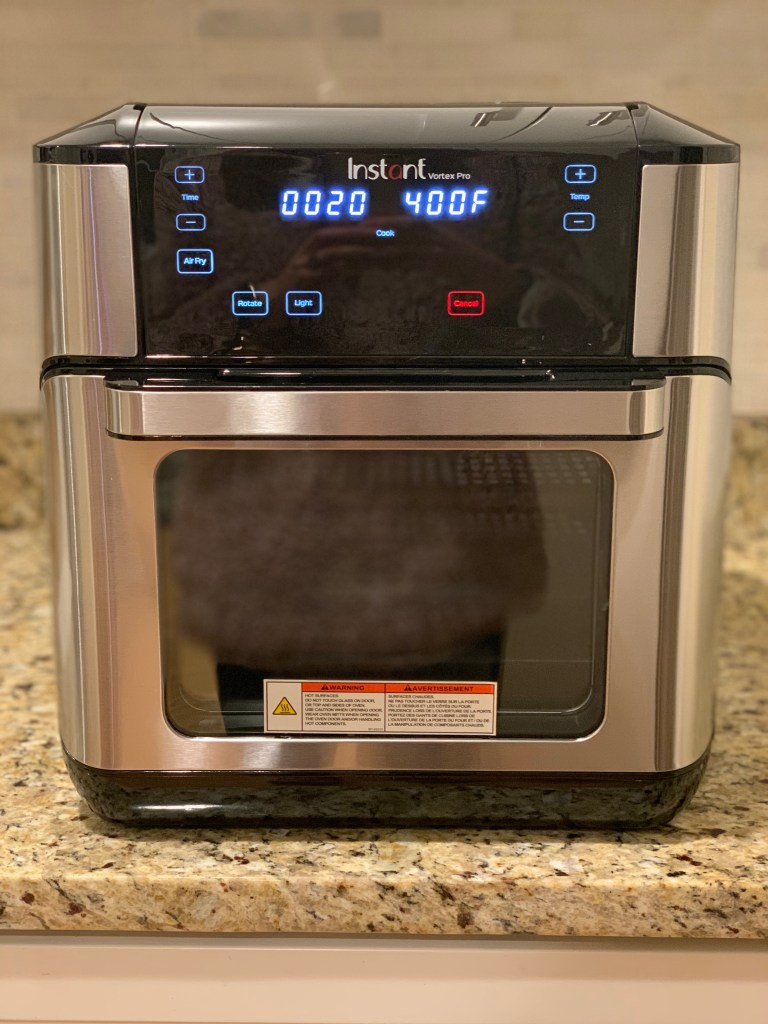
Right: The Instant Vortex Pro. This is on the smaller end of the toaster oven style spectrum of air fryers – perfect for those with limited counter space who still want more space for food.
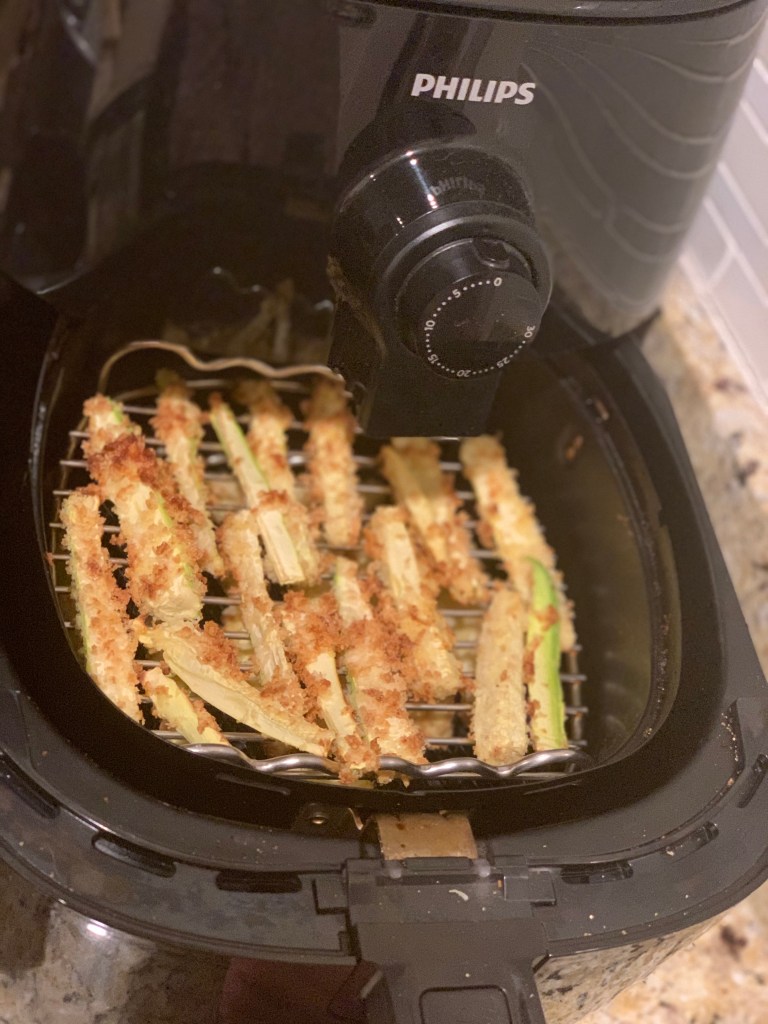
Basket style air fryers come in a variety of sizes. They have a “basket” or drawer that the food goes in that you pull out. Many are egg-shaped and take up less space than the oven style fryers. You can get larger basket style air fryers if you are cooking for more people or want more space. Mine is a more compact model and fits nicely on my limited counter space (though it is getting moved to make way for the Vortex). There is a real range in price with basket fryers, from small, budget-friendly fryers for 1-2, to larger, family-friendly fryers that can feed a crowd. You can get a basket style fryer with simple analog controls (like the one seen below) or one with a digital interface and preset temperatures. There are so many options with these basket style fryers – it all comes down to figuring out what need and want to use it for.
Oven style air fryers are larger and, in general, have space for more food. They have the appearance of a toaster oven but the capability of an air fryer (and can do other things, such as dehydrate, reheat, proof, etc. depending on the brand and model you purchase). With this, of course, comes a larger footprint – and a larger price tag. While an oven style fryer sounds like a great idea, it’s likely the most costly option and one that will take up a significant amount of space on your counter top.
“If you want more space, why don‘t you just cook in your oven?” Excellent question. The air fryer oven a) heats up faster, b) cooks your food faster, and c) yields crispier and crunchier results, much closer to something being truly fried, without all of that oil. How? Air fryers circulate hot air all around your food much more rapidly and evenly than a traditional oven. I’ve got the chicken nuggets to prove it.
What’s Wrong With Your Old Air Fryer?
Absolutely nothing. I truly love my Philips Viva TurboStar Air Fryer and stand by that appliance whole heartedly. It cooks food quickly and evenly. It’s very simple to use and easy to figure out – it was perfect for my introduction to air frying. I’ve used it now for about 3 years and would recommend it to anyone looking to get into air frying. As I noted above, it does not take up a huge amount of space on my counter. However, overtime, there were a few things I started longing for:
- More space (my fryer was great for cooking one part of the meal; I’d love to be able to cook multiple items at once)
- Separate shelves (I disliked not being able to conveniently cook for a meat eater and vegetarian at the same time)
- A digital interface with preset controls (analog works just fine, but it isn’t as precise)
- A toast feature (my husband claims that our basket style fryer does a mediocre job at toasting bread)
Out of the TRILLION options out there, I landed on the Vortex for a combination of reasons. Here are the top few:
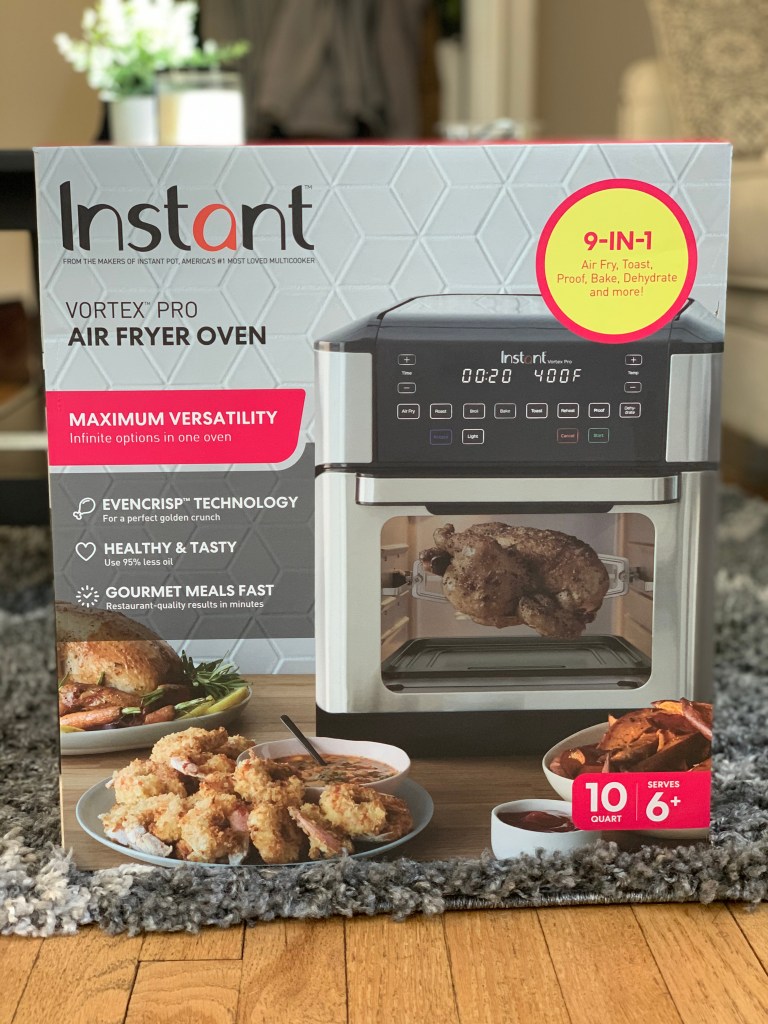
- It’s one of the smaller oven style fryers – so while it has multiple shelves/much more room for food (up to 10 QUARTS!), it’s not going to take up as much counter space as other oven style options. Dimensions: 13.23” length x 13.78” wide x 14.37” height
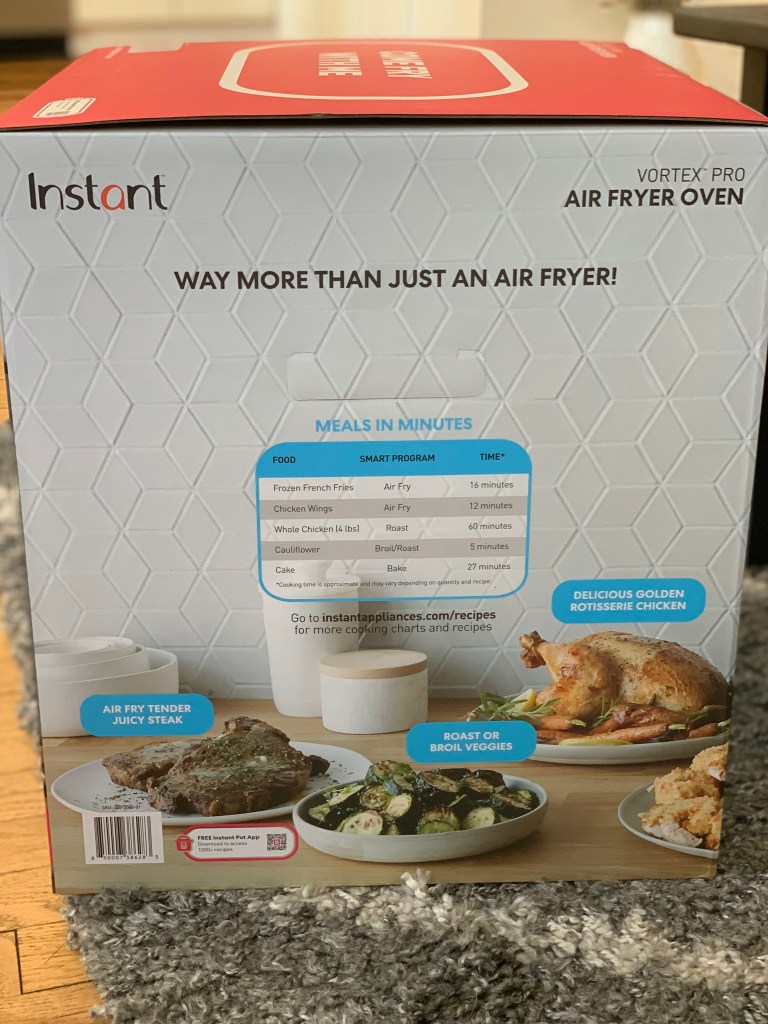
- Just like the box says, it’s “WAY MORE THAN JUST AN AIR FRYER!” It air fries, roasts, bakes, reheats, dehydrates, proofs, toasts, broils, and has a rotisserie spit.
- In addition to the rotisserie spit, it also comes with a rotating basket that you can insert in lieu of the shelves. I imagine this being perfect for cooking things like french fries, where you’d want to shake/or flip often.
- Reviews state that it is fairly easy to clean (while other oven style fryers proved more difficult)
- It’s made by Instant Brands (the people who make the Instant Pot), and I have never been disappointed by their products.
The Unboxing
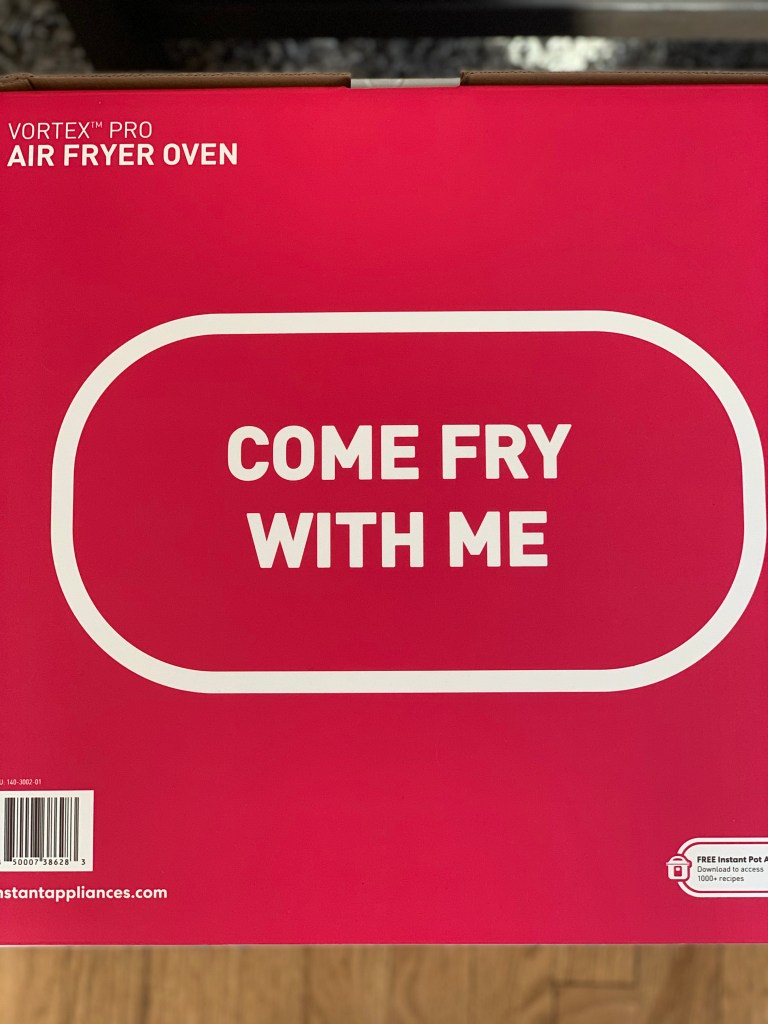
Now to the good part! Unboxing this beauty. I LOVE Instant Brands packaging. Maybe it’s because my favorite color is pink, maybe I’m just a weirdo. Their boxes just look so appealing to me.
I like how they have QR codes on the box to provide quick tips and tricks on things you’ll want to know right away (how to rotisserie, how to access recipes in the app, etc).
Upon opening the box, the Vortex Pro “Getting Started Guide” is right on top. One might say this booklet is “bare bones,” but I say that it is straight forward and to the point. It gives you everything you need to quickly and efficiently set up your appliance and start cooking. Personally, I get overwhelmed when these starting guides are practically novels. I like that this one included only essential information like safeguards, a guide to parts and accessories, how to get started, how to use the controls and different modes, and how to clean and store your appliance and its accessories.
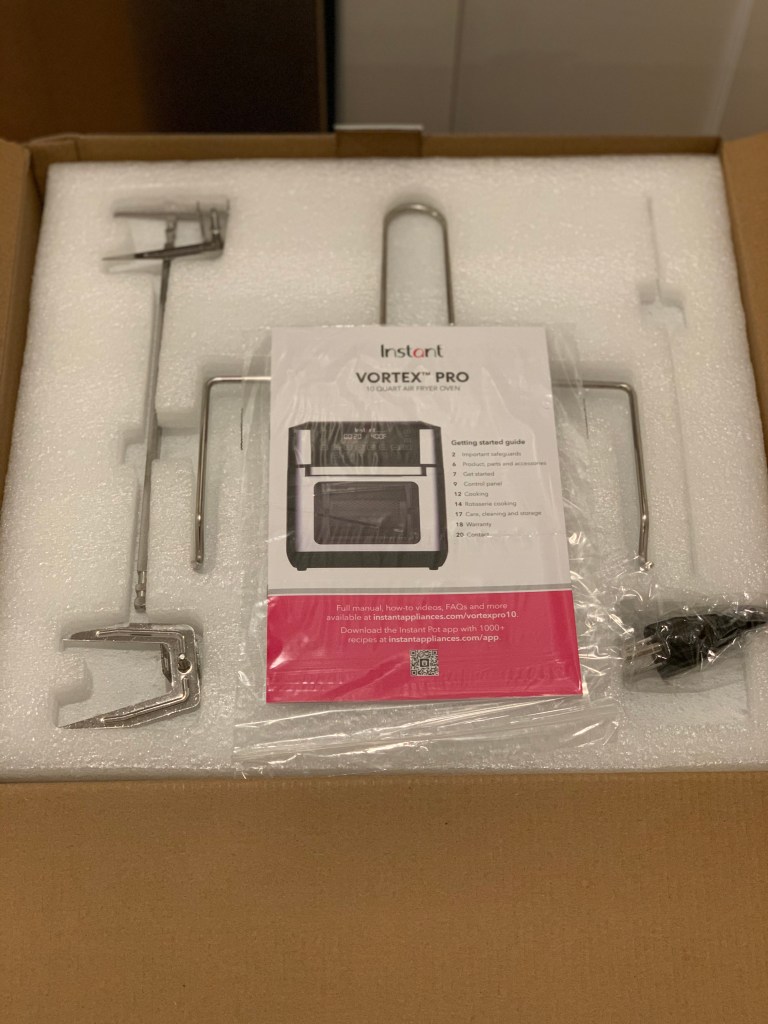
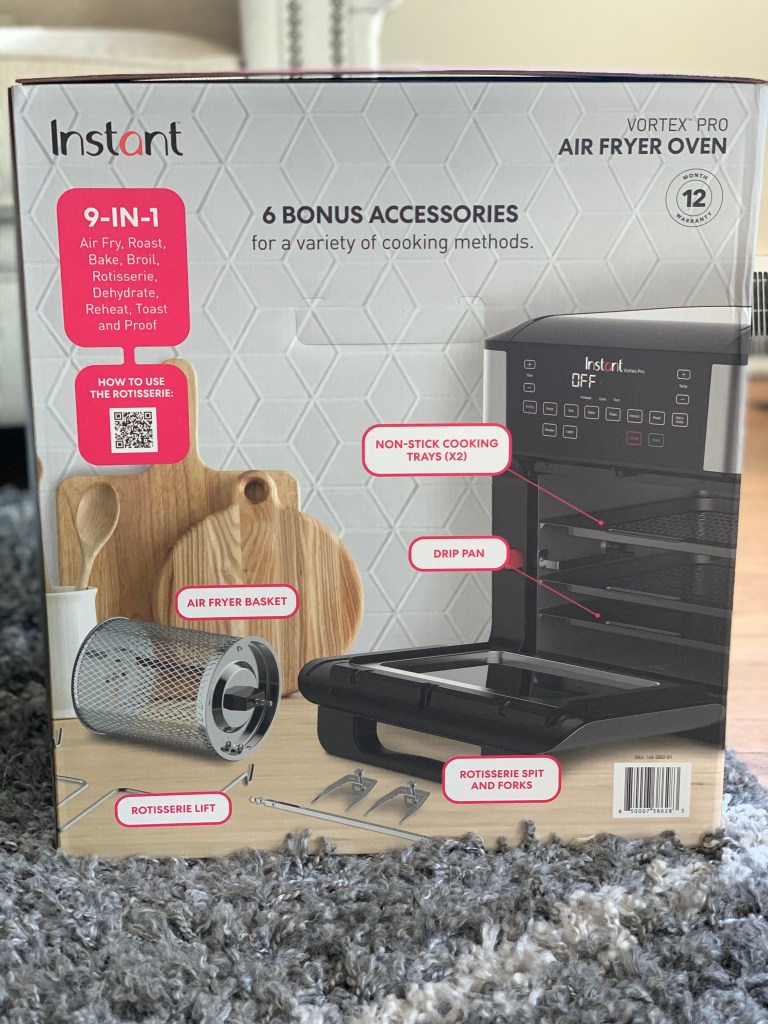
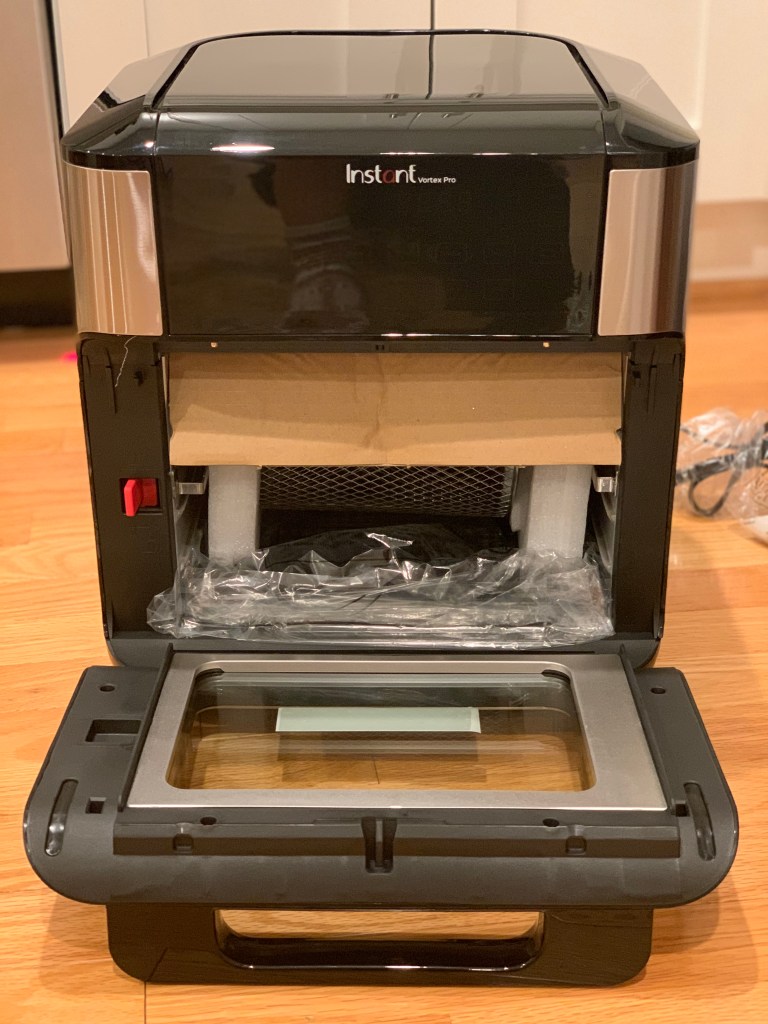
Speaking of accessories, let’s check out what the Vortex Pro comes with. I LOVE ACCESSORIES. As you can see in the picture above, the rotisserie spit is the first thing you see when you unbox. It also comes with a handy rotisserie lift to help you safely take your food in and out of the air fryer (this can be used with the rotating basket, as well).
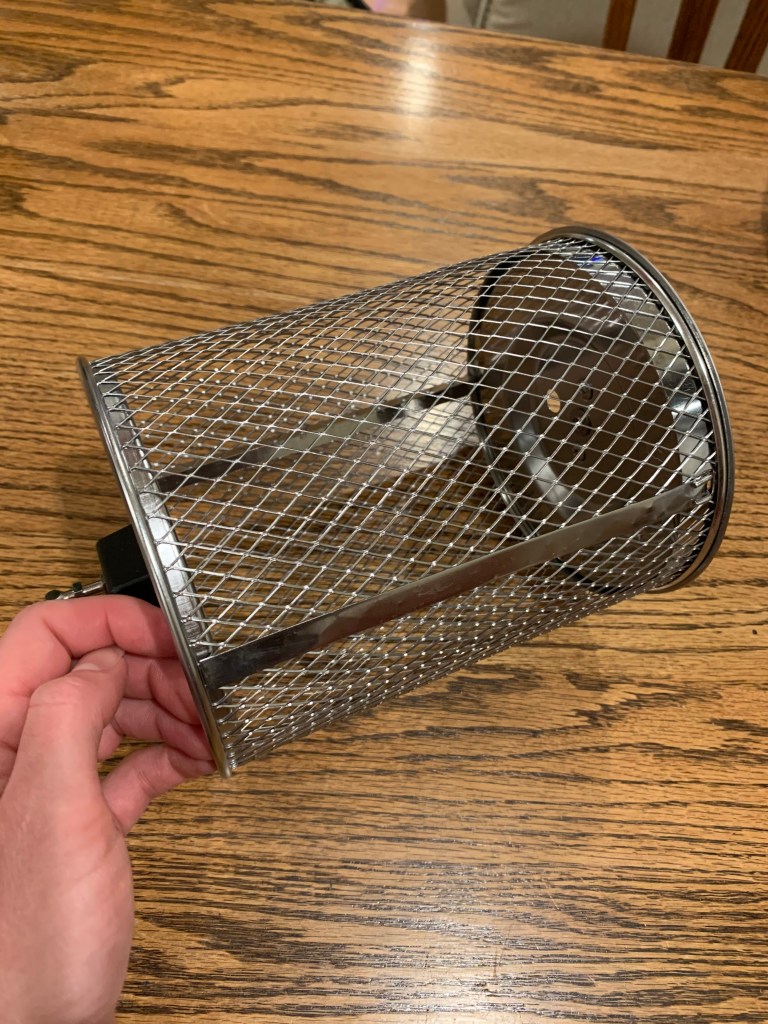
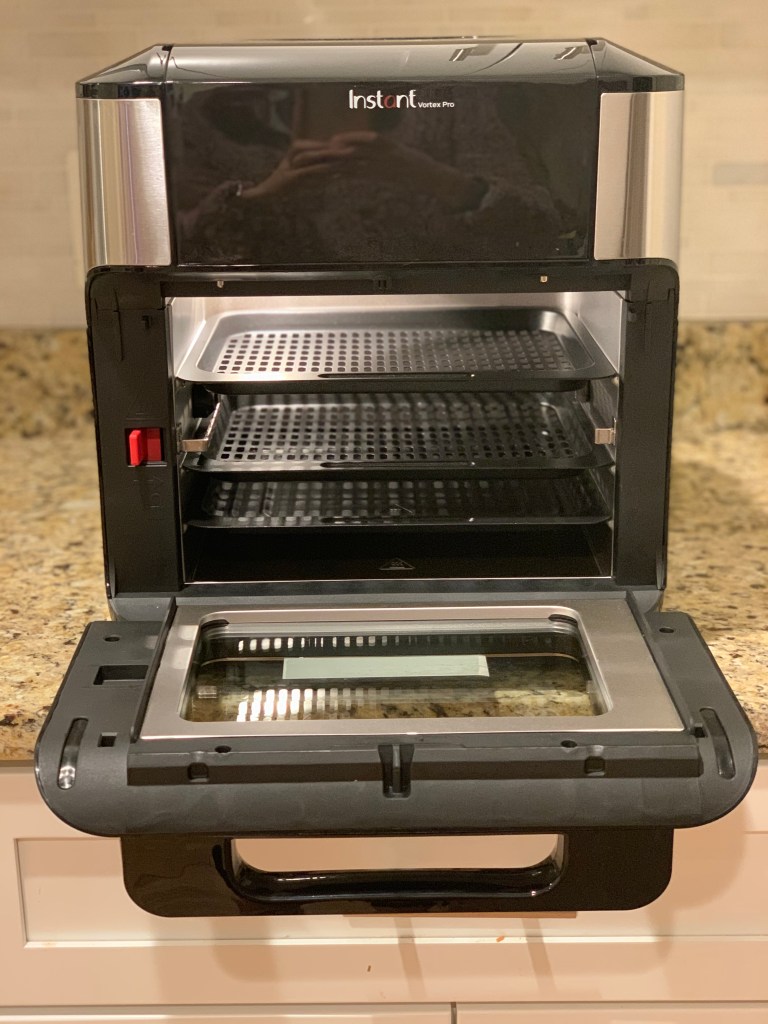
Once you take the actual air fryer out of the box, you will see one of the other unique accessories inside of it – the basket. This basket ROTATES to ensure food gets crispy all around without you having to lift a finger. What a perfect alternative to flipping or shaking your food. Imagine golden french fries or crispy Brussel sprouts bouncing around in that thing. I cannot wait to try it out.
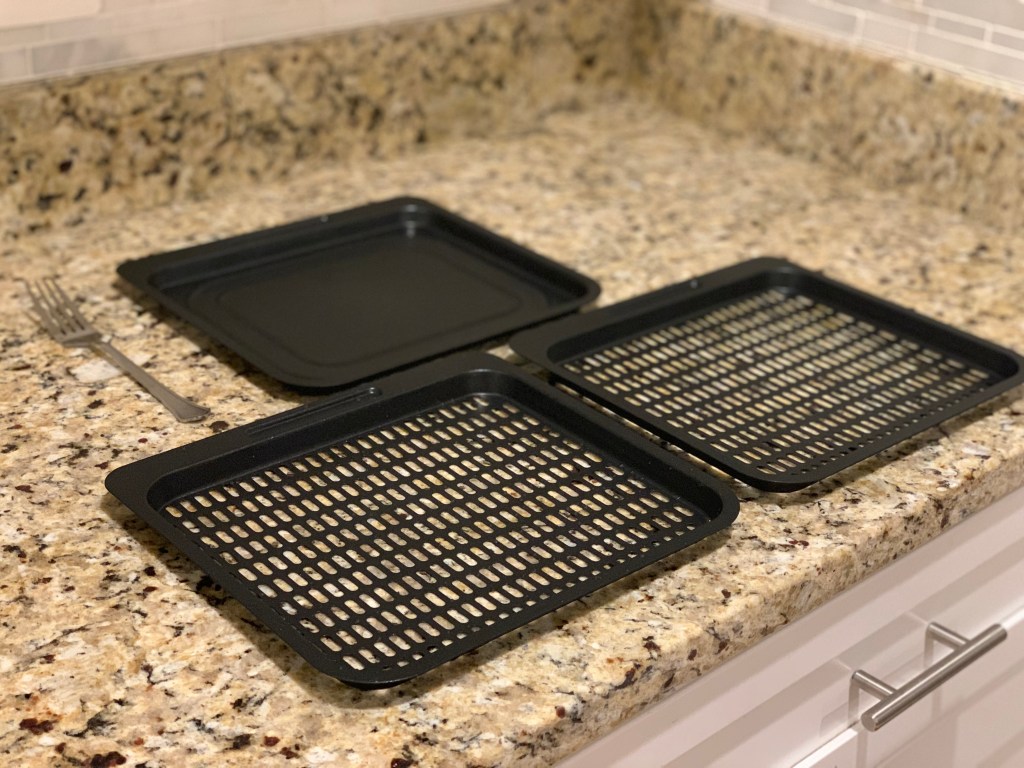
The Vortex comes with three trays – a drip tray (to be placed at the bottom to catch grease) and two non-stick cooking pans. They have holes in them so that the air circulates evenly as your food is cooking. All three pans are the same size – there is a fork next to the drip pan for scale.
Setting Up the Vortex
I’m happy to report that “setting up” the Vortex was a breeze (putting that in quotes because I really didn’t have to do much beyond taking the packaging out and plugging it in). The starting guide recommends running an initial “test run” (with no food) that takes 20 minutes and requires nothing but pushing a button or two. I did take the time to wash all the accessories and the inside of the oven with a damp paper towel and some dish soap before completing the test run.
The starting guide indicates that there may be a faint plastic smell when you do the test run (and they ensure that that’s normal, non-toxic, and not permanent). I did encounter this, but it dissipated quickly.
First Impressions
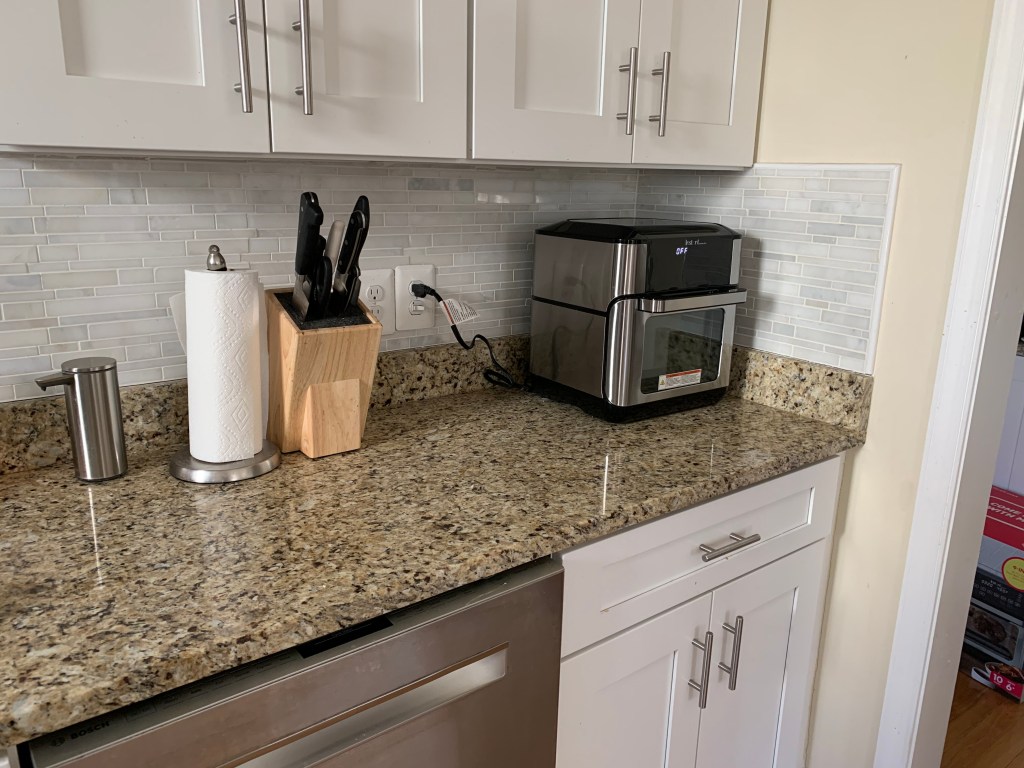
When I put this baby on the counter, I was absolutely elated with how it looked. The stainless steel body compliments my other appliances, and overall, it doesn’t take up a ton of extra space compared to the smaller basket style fryer I had on the counter before.
I was thrilled that setup was so easy because that meant I got to jump right into cooking. I decided that eggplant parmesan would be a fun way to test out the Vortex. I didn’t love making eggplant parmesan in my basket style fryer because it required cooking in batches.
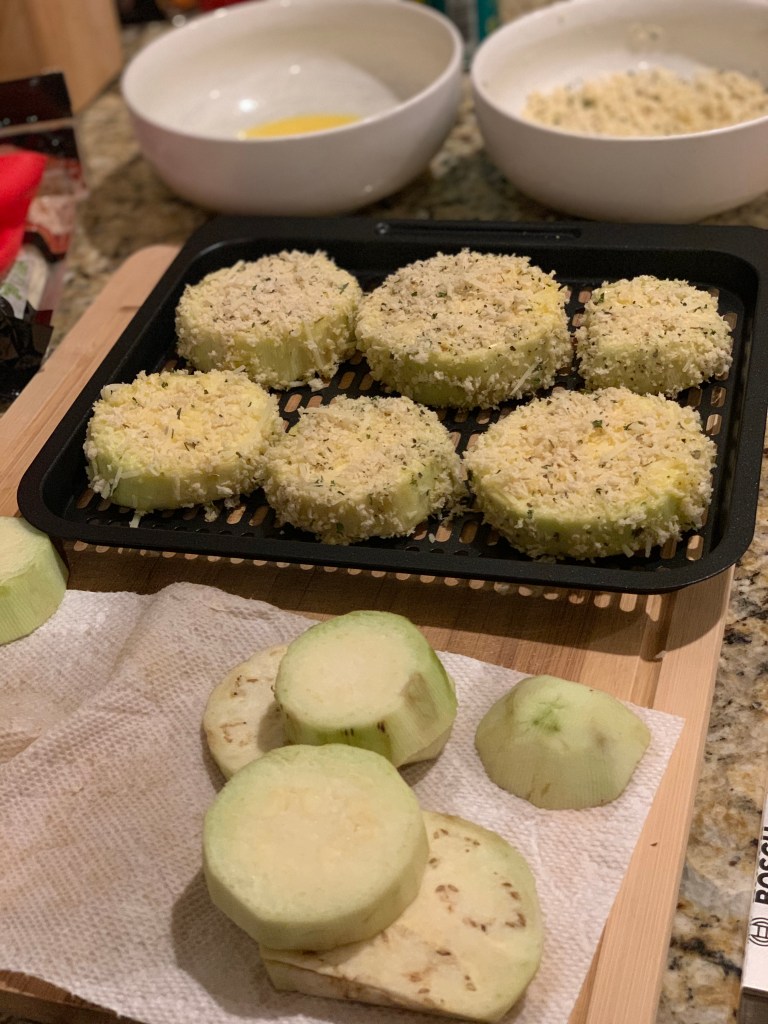
I peeled and cut the eggplant into ~1/2 inch slices. Then, I dipped each slice into an egg wash followed by a breadcrumb/parmesan/Italian spice mixture. One small eggplant fit perfectly on the two trays. Into the oven they went!
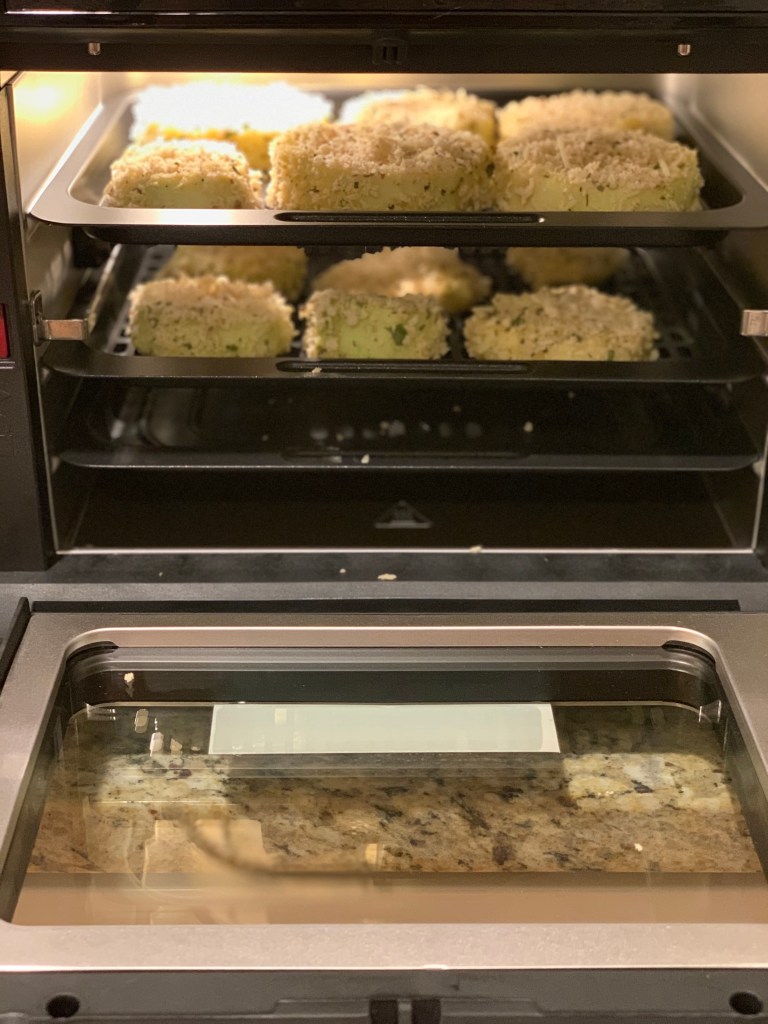
I air fried the eggplant for 8 minutes at 360 degrees. The Vortex does take a few minutes to preheat before the cooking time starts counting down. It also alerts you halfway through cooking time so you can rotate your food. I switched the top and bottom trays, and I could see that the top tray was browning MUCH faster than the bottom.
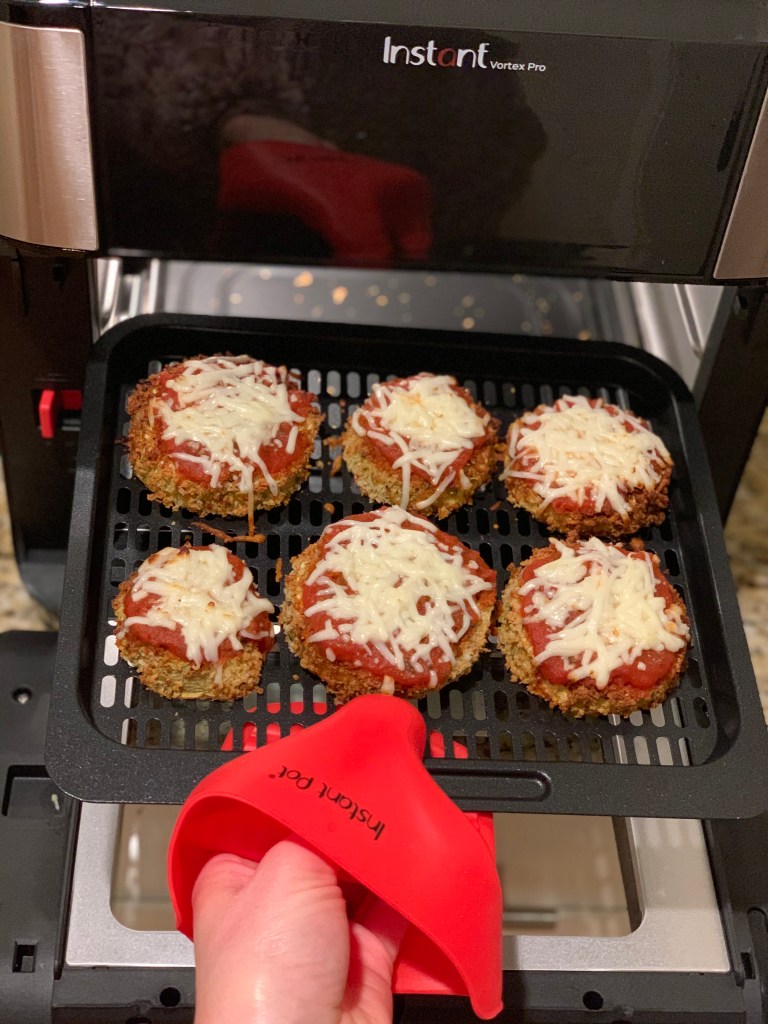
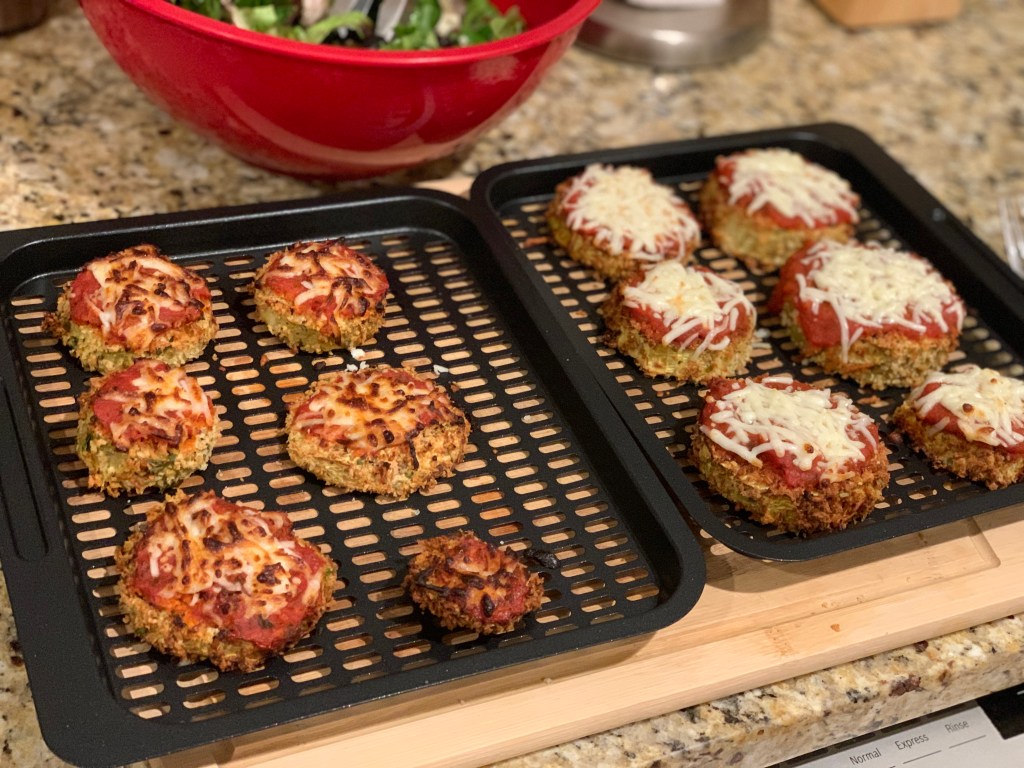
After 8 minutes, I took the trays out and covered each slice with ~1 tbsp marinara sauce and ~1 tbsp mozzarella cheese. I stuck the trays back in the air fryer for 2 more minutes at 360. The top tray browned significantly faster, but in the end, both trays were equally delicious!
I went to bed dreaming of what I will air fry in the days to come. As soon as I woke up, I darted to the kitchen and rummaged through the fridge, wondering what I could make for breakfast.
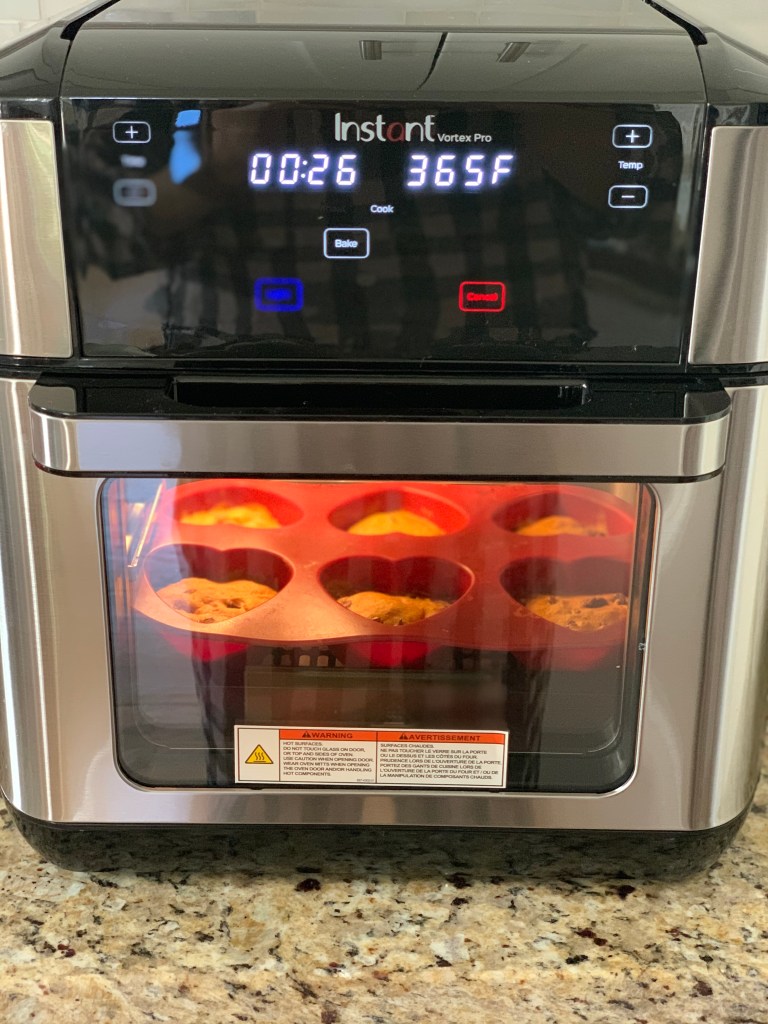
I stumbled upon some leftover pumpkin pancake batter from the day before. Air fryer pancakes?! Let’s go for it! Assuming this could be a disaster but willing to take the risk, I quickly looked for a pan that would fit inside the Vortex (note: any pan that can be used in your oven can be used in your air fryer. Limitless options!).
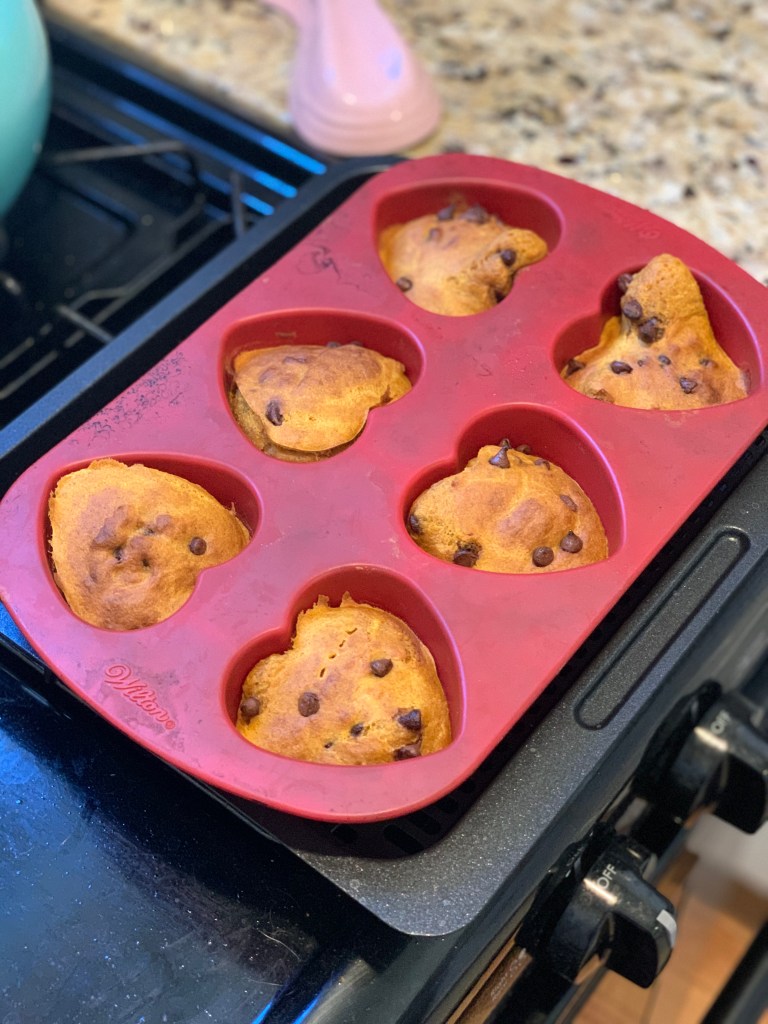
I settled on the heart-shaped silicone muffin molds that I rarely use (even though they are adorbs). They barely fit on the cooking tray – in fact, it was a bit of a squeeze. I filled each mold about 3/4 of the way full with pancake batter and sprinkled in some chocolate chips. I used the “bake” feature, which heated the Vortex up to 360 degrees automatically. I cooked the pancake muffin hearts for about 5 minutes, then pulled them out to test. They looked golden and brown on the outside, but parts were still gooey on the inside. I lowered the temperature to 350 and stuck them in the Vortex for 5 more minutes. BOOM. Hello, perfectly moist pancake muffin hearts. Admittedly, the bottoms stuck a bit to the molds, but a little butter or cooking spray next time would fix that.
If anyone has read this far, I truly thank you for caring as much about the Instant Vortex Pro as much as I do. Some may find it strange that a kitchen appliance brings me so much joy. I, myself, find it strange 😹 I look forward to sharing many more recipes and letting you know how my experience with the Vortex goes!
Please do not hesitate to reach out with any questions about air fryers if you have them – I know that shopping for one and starting to use one can be overwhelming. I love talking appliances, so hit me up! Happy air frying!
