

Buffalo chicken is a weakness of mine. You may know this already if you’ve seen my post on six different ways to devour buffalo chicken. I want to eat it in all forms, all the time!
Unfortunately, buffalo sauce is typically made with garlic or other ingredients that don’t agree with my stomach. Luckily, I discovered an amazing low FODMAP alternative on one of my favorite blogs, Fun Without FODMAPs. This blog makes low FODMAP cooking manageable and delicious. I cannot recommend it highly enough for people with IBS or anyone who is trying to cook more low FODMAP recipes. (Not sure what low FODMAP means? Check out my post on irritable bowel syndrome and the low FODMAP diet).
Typically when I make buffalo chicken, I will throw a few breasts or thighs into the slow cooker or Instant Pot with my favorite sauce and end up with a mouth watering heap of shredded, juicy, flavorful chicken. This time, I wanted to try making it in the air fryer instead. Air frying is fast, easy, and always delicious.
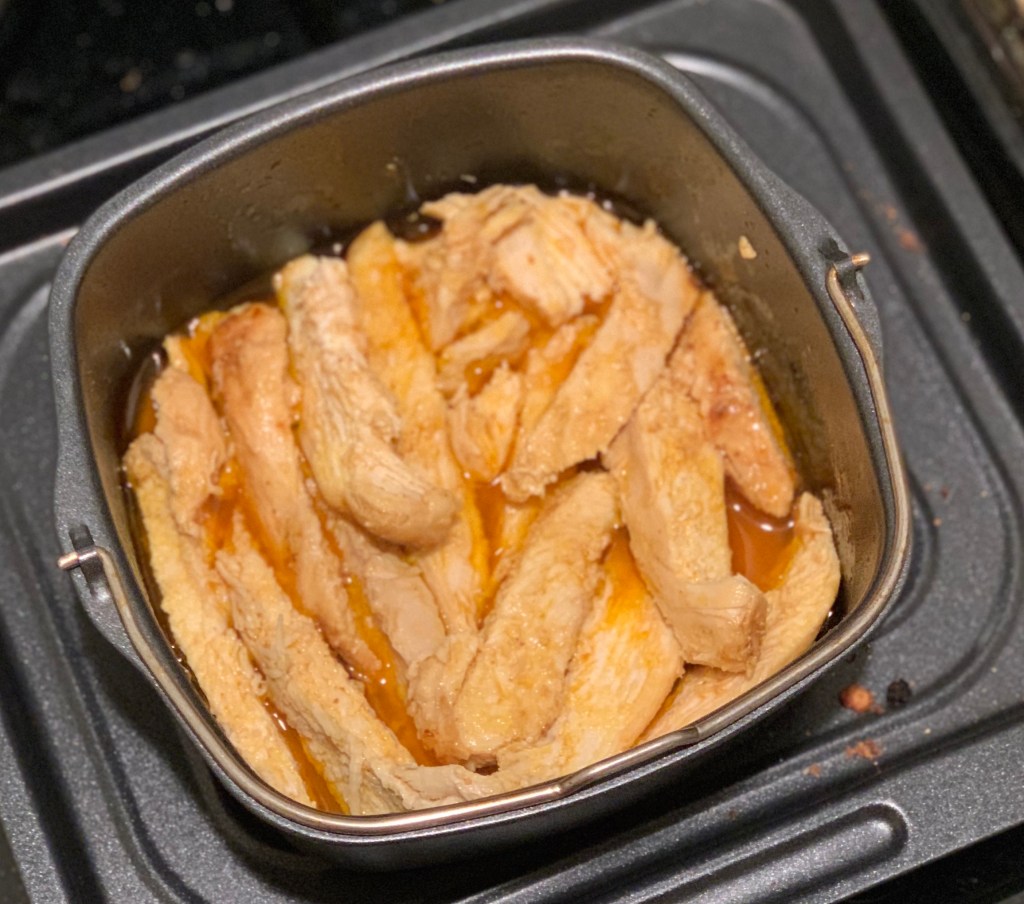
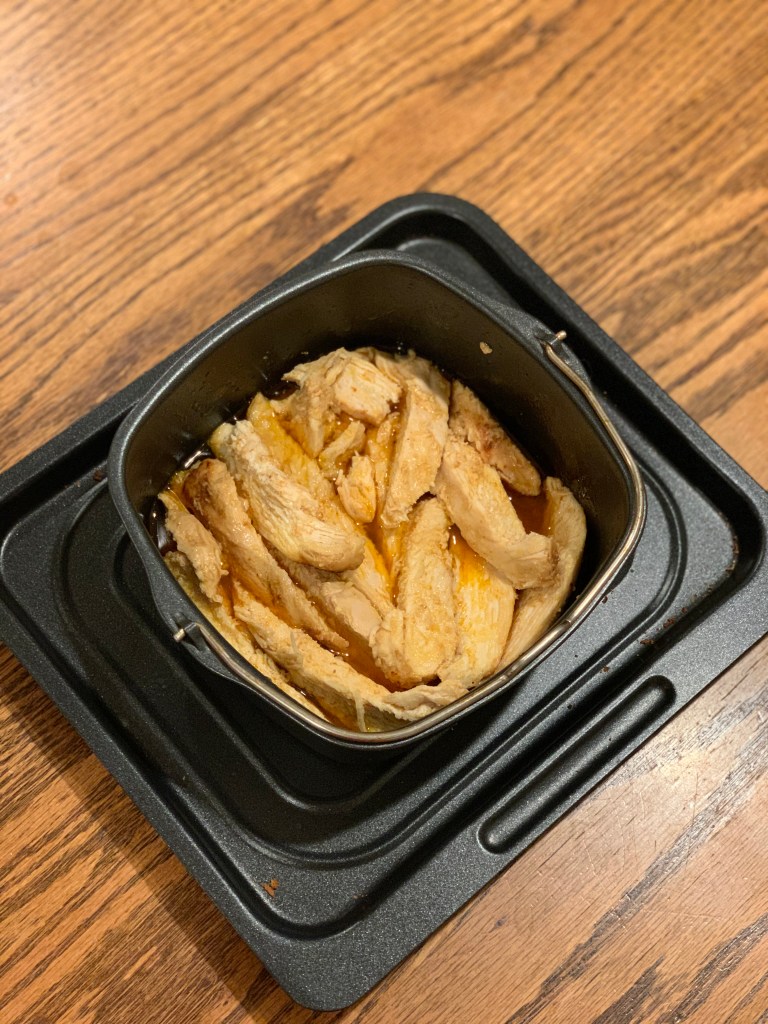
Air fryer chicken breasts are simply divine. They turn out tender and juicy every time – a nice alternative to dried out, tough chicken breasts baked in the oven. Usually I will air fry chicken breasts right on the rack, but I wanted to make sure the chicken sat in a bath of buffalo sauce to ensure they were as saucy and flavorful as possible. This also kept them extra moist.
If you want to try this recipe, I recommend finding a small, oven safe dish that can fit in your air fryer. I have two favorites that fit in my Instant Vortex Pro oven style air fryer:
- Philips Nonstick Baking Pan
- CorningWare French White 1-1/2-Quart Covered Round Dish (I don’t use the glass top in the fryer)
Ingredients
- 2 chicken breasts (about 14 ounces total)
- 1/3 cup buffalo sauce of your choice (I used my favorite low FODMAP homemade buffalo sauce from Fun Without FODMAPs)
You could definitely scale this recipe up if your air fryer is large enough! The CorningWare dish that I linked to above could definitely hold at least 3 chicken breasts or thighs. I would just increase the sauce to 1/2 cup or more, depending on how much chicken you are making at once.
While Frank’s RedHot Buffalo Wings Sauce is my absolute favorite, my sensitive stomach tries to stay away from it. The homemade low FODMAP buffalo sauce that I linked to above is incredibly easy to make – all you need is butter or ghee, Tabasco sauce, and Worcestershire. I only use 2 tbsp of Tabasco instead of the recommended 3 since I can’t take that much heat. I highly recommend this if you want to make your own homemade sauce, especially if your gut is sensitive to garlic or you want to control the level of heat.
Instructions
1. Place whole chicken breasts* in the oven safe dish and cover with sauce (I let mine sit in the sauce bath for an hour before cooking, but you can skip this step).
2. Preheat your air fryer to 375 degrees. Air fry chicken for 15 minutes.
3. After 15 minutes, check your chicken for doneness. If your breasts are thinner, they may be done (chicken is considered safe to eat if the internal temperature reaches 165 degrees F). If they are thicker, they may need more time. Mine were on the thicker side and I cooked them for 20 minutes total.
4. Remove chicken from oven and slice or shred. Return the chicken back to the baking dish and smother with all the sauce in there before serving.
*You could also precut the chicken into slices or smaller pieces before cooking. This would cut down on overall cook time. Thighs would also be delicious, but you may need to adjust cooking time.
That’s it! Simple, quick, and tasty. You could use this chicken on sandwiches, in salads, quesadillas, or eat it alone. I was shoveling it straight into my mouth when I first tasted it.
I used this chicken the first time I tried making my own sushi – buffalo chicken sushi rolls are my new obsession. Homemade sushi post coming soon – I can’t wait to tell you more about this delicious creation! Sneak peek below!


In the mean time, enjoy that buffalo chicken any way you like it!
